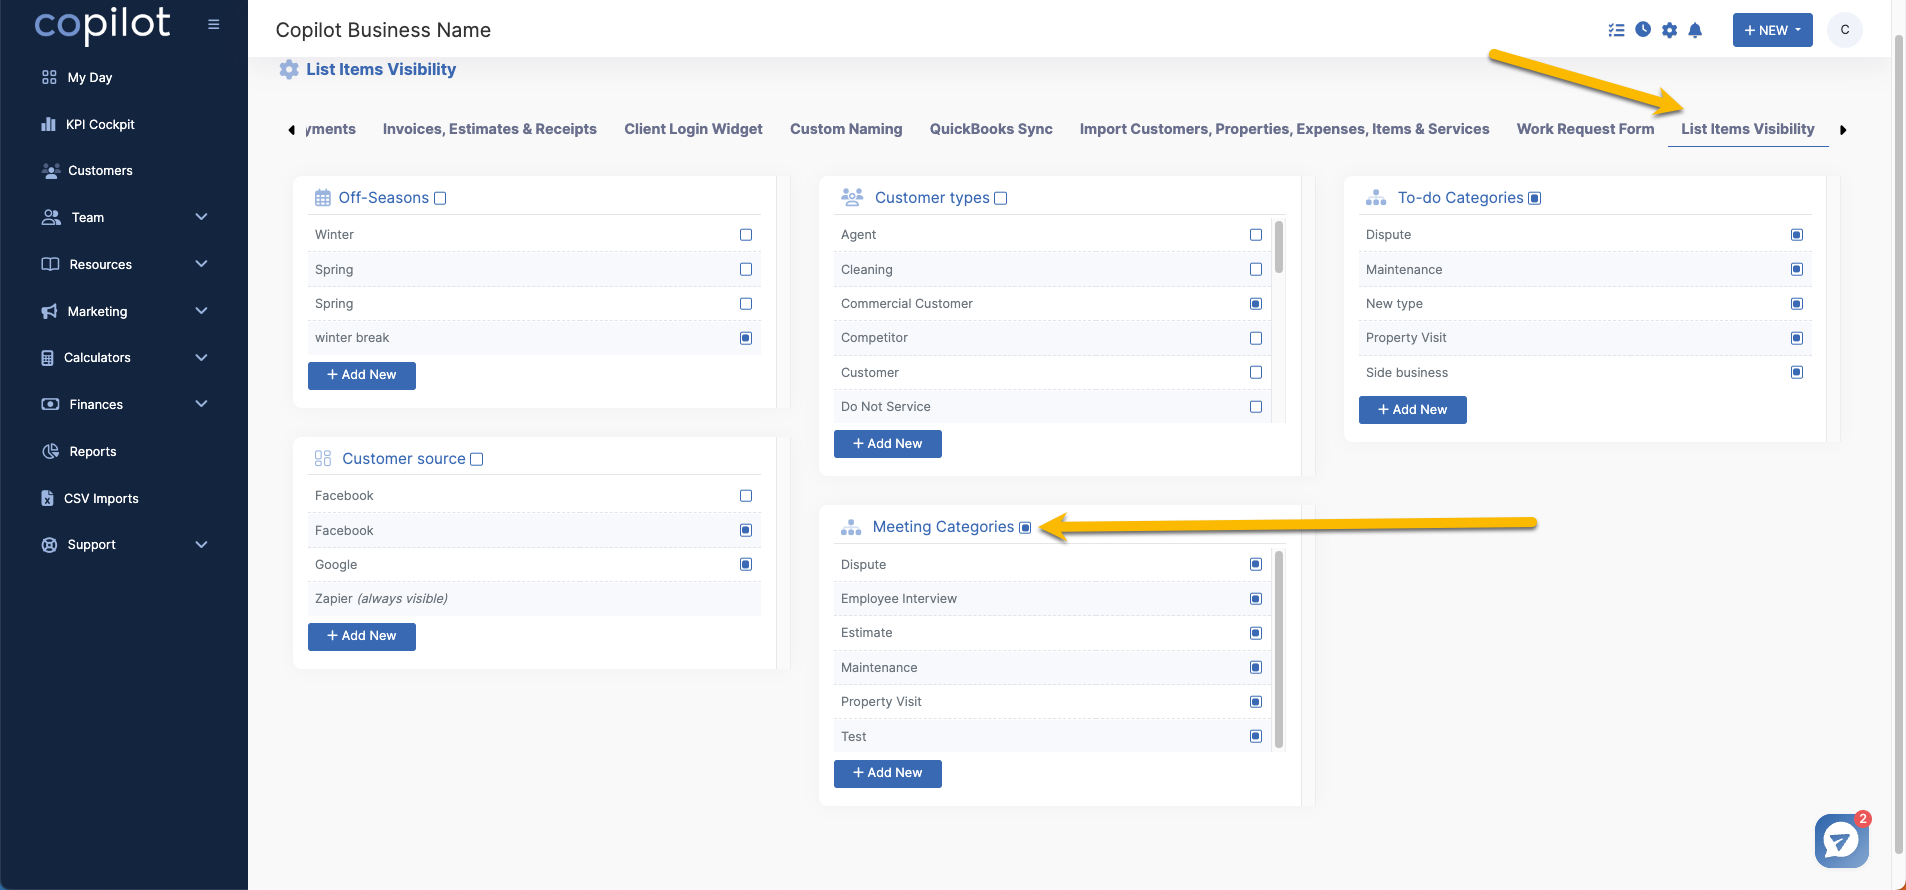
Start by clicking the gear icon to enter your settings in the top right hand side of your screen, then scroll to the right to click "List Items Visibility".
On this page, you'll have access to the "Meeting Categories" section where you can hide, show or create new meetings types.

After you've created some meeting types based on the needs of your business, you can access those by creating a new meeting to put on the schedule.
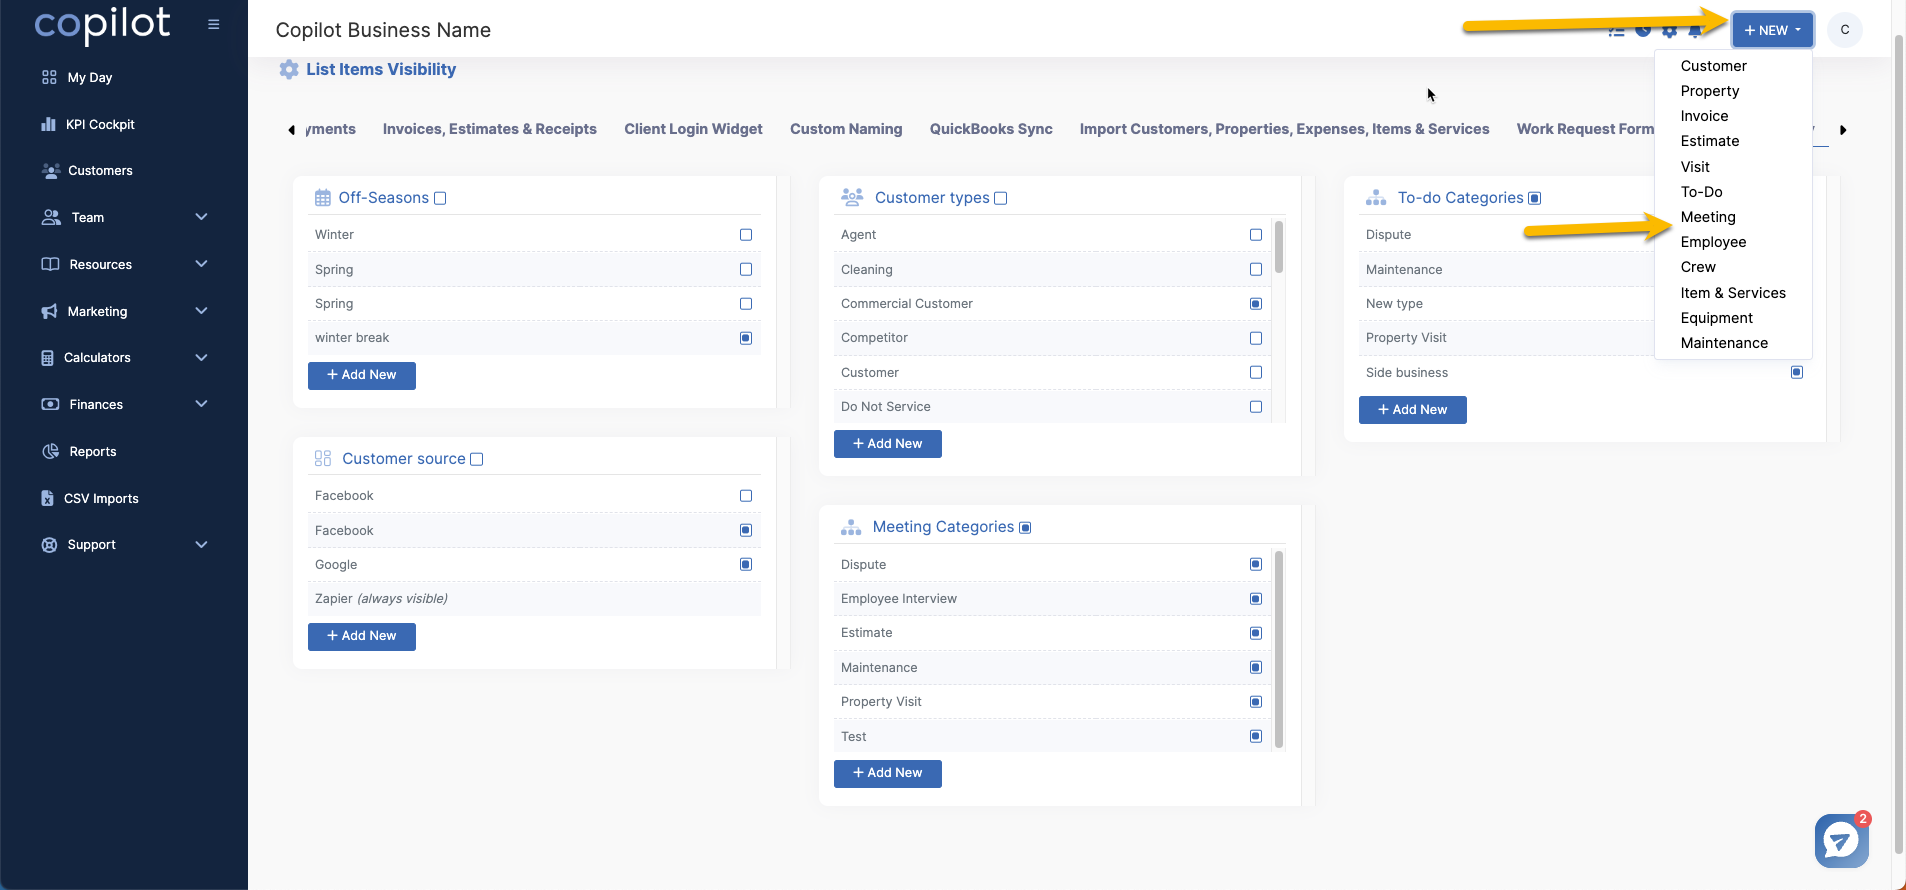
One way to do so is to click the "+ New" button on the top right hand corner of your screen, followed by clicking "Meeting" to set up a new meeting.

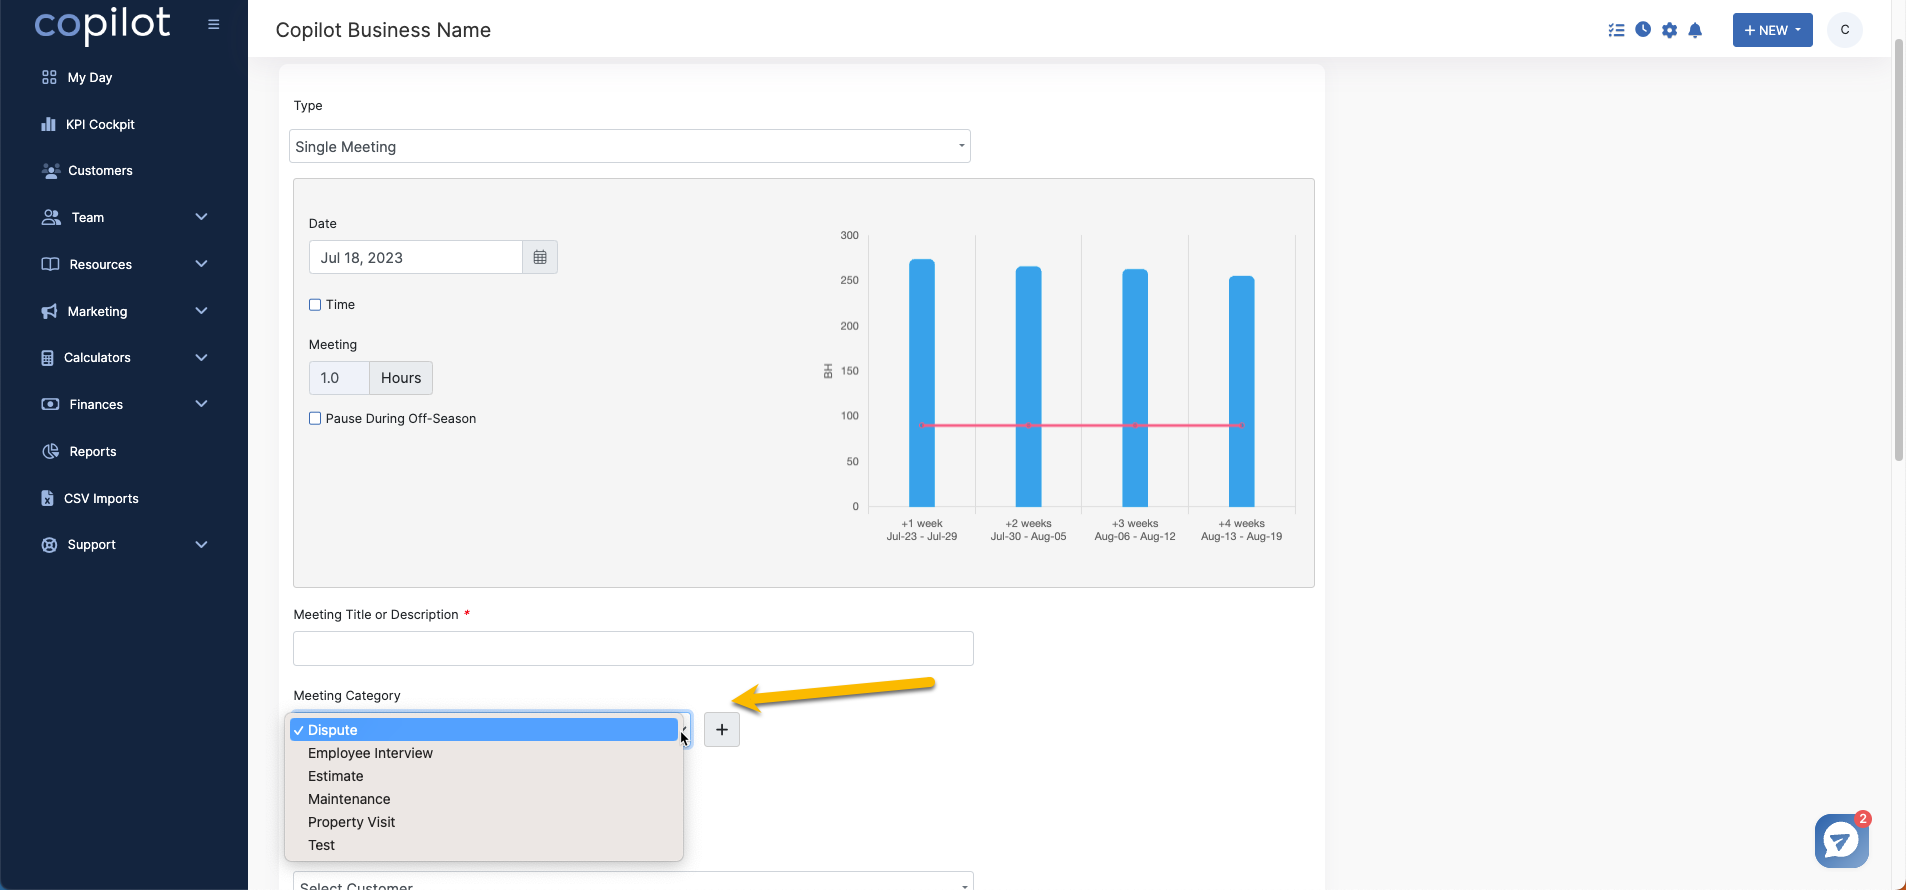
This will take you to the "Create Meeting" page where you can fill out the following fields to complete and put this meeting on schedule.
One of those fields is the "Meeting Category" drop tab, where you'll be able to access your custom category you made. There's a + button on the right hand side where you can create another category instantly.

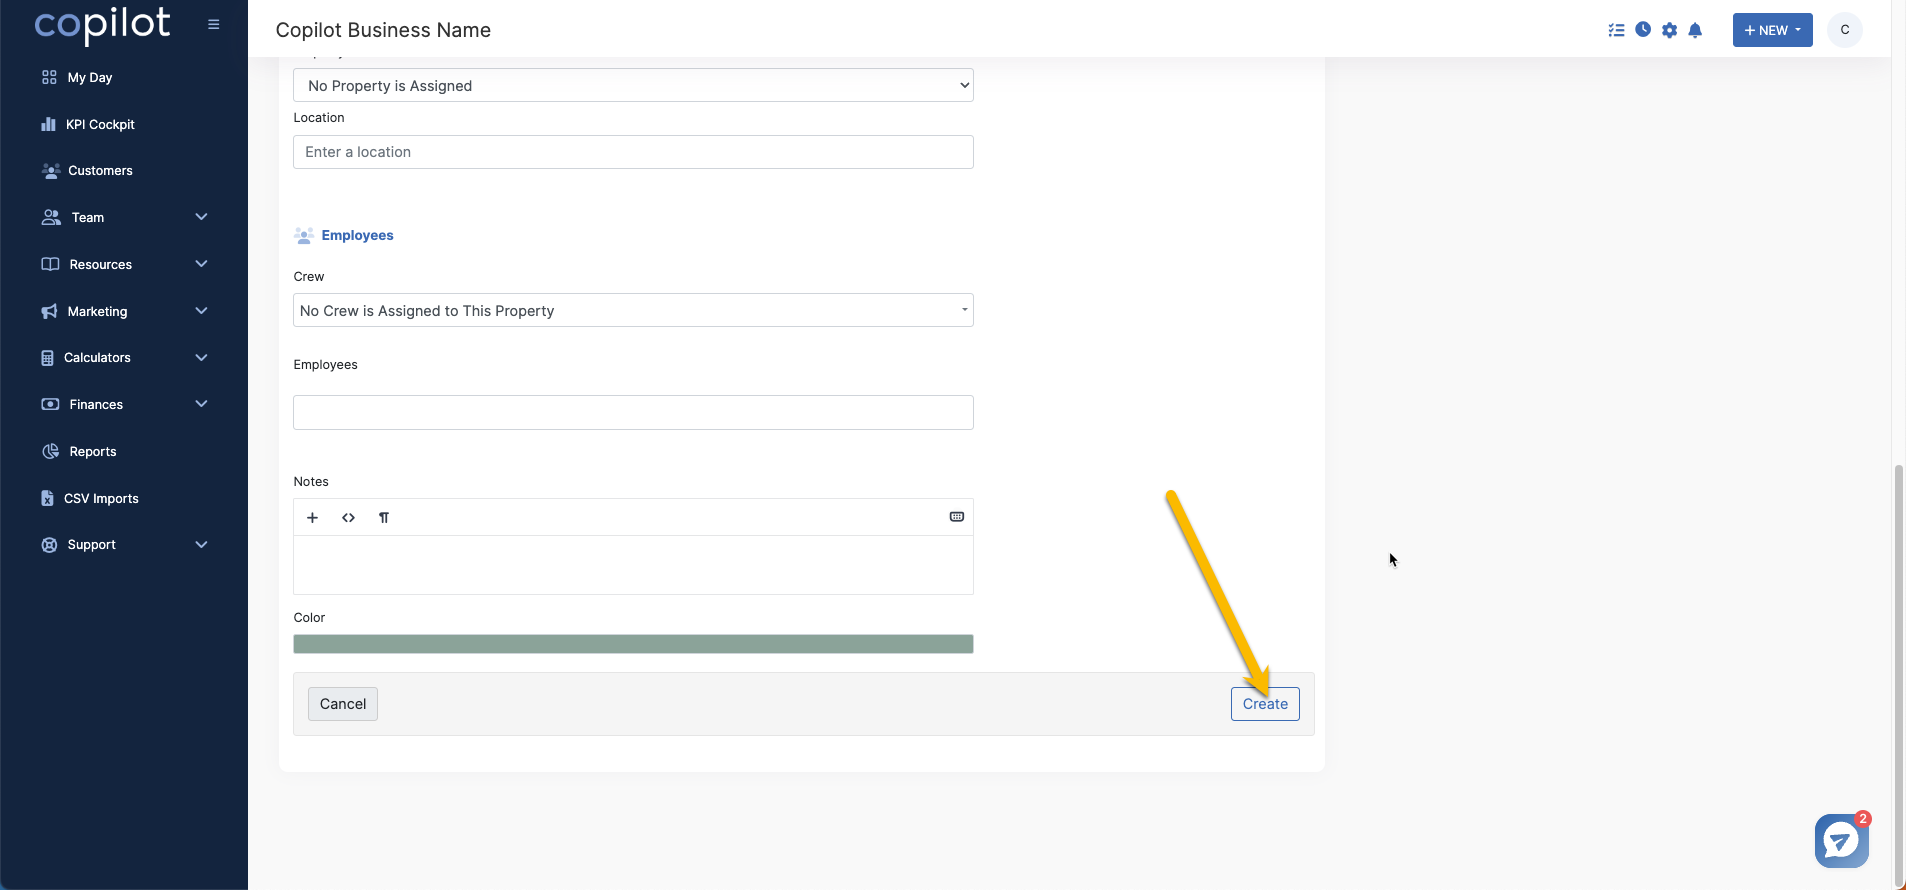
Once you're done filling out the rest of the information on this page, click "Create" to finish putting your new custom meeting on schedule.
