To access the email builder page on Copilot go to "Marketing>Email".
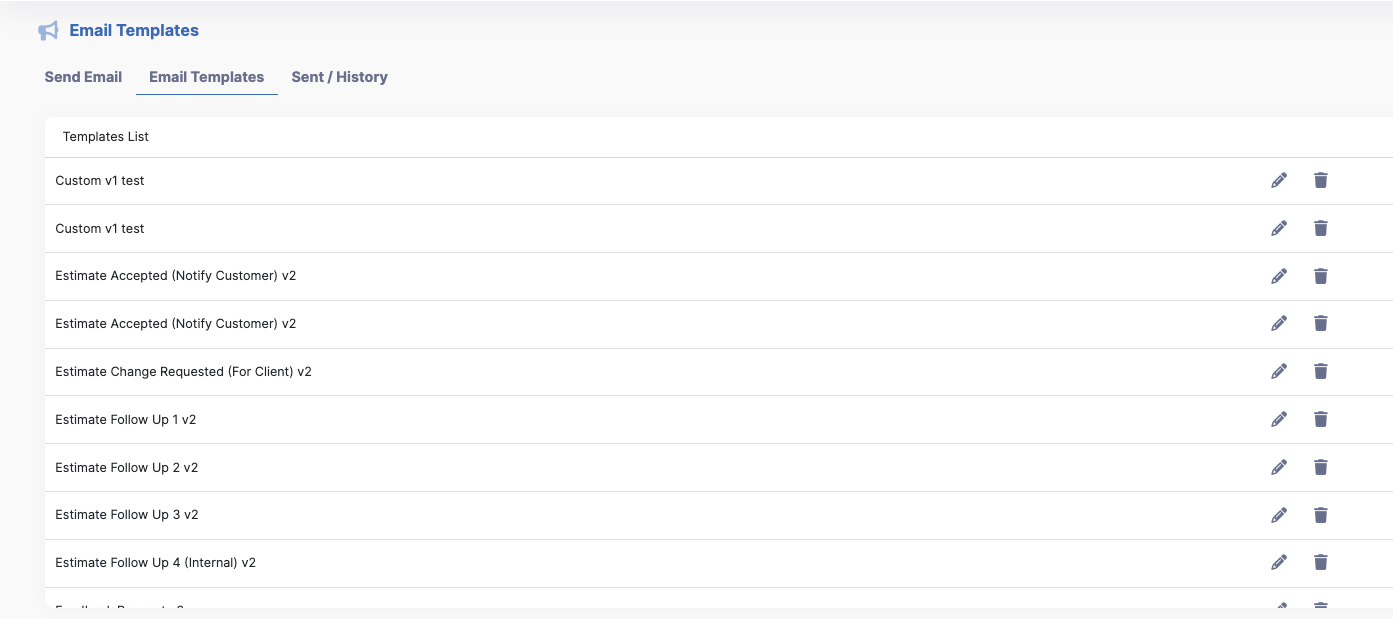
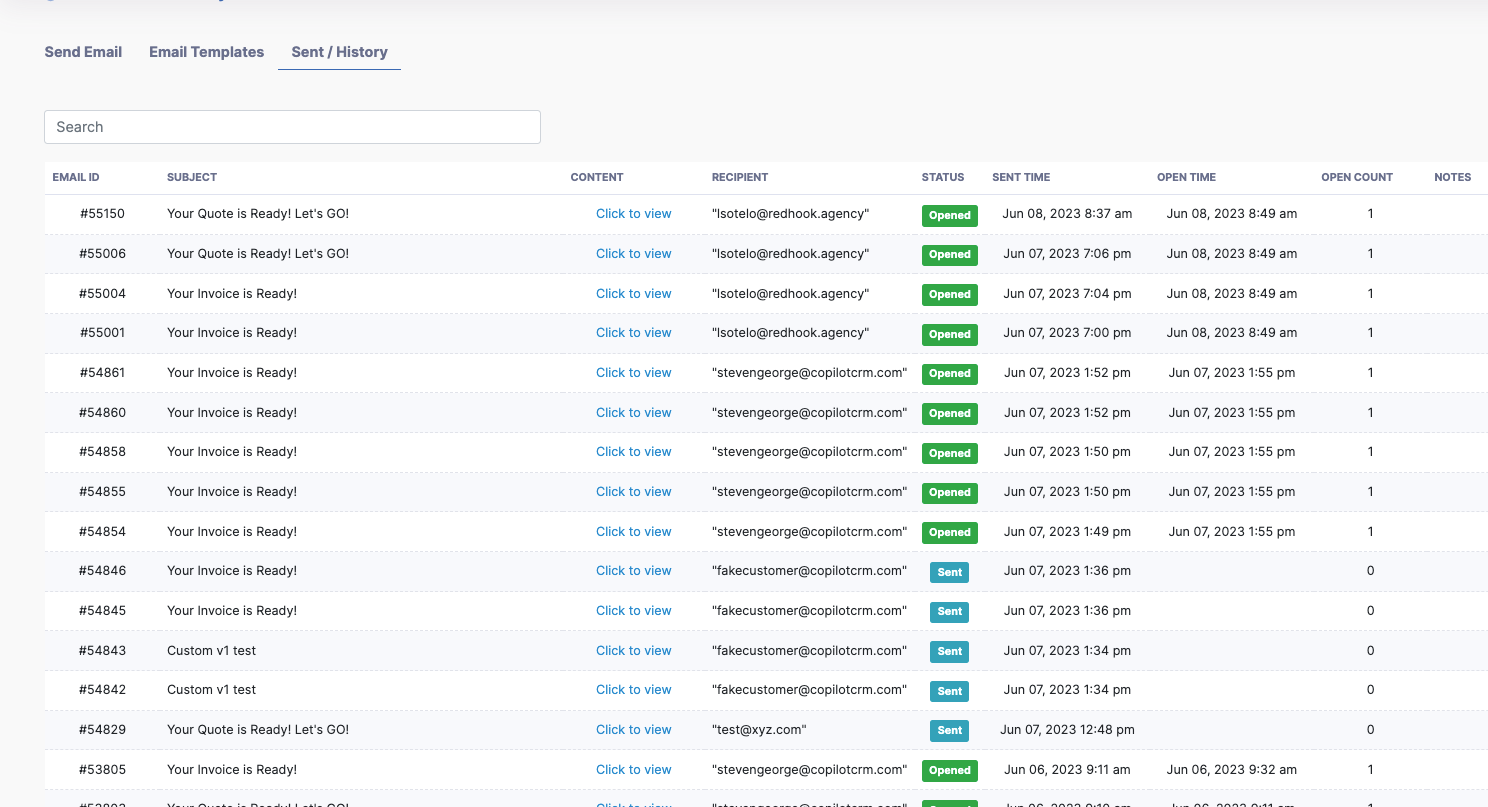
Once you're on the Email builder page, you have three tabs you can select: send email, Email Templates and Sent/History.
The send email page is where you can select from your list of customers and templates to send out emails. You have the ability to send invoices, estimates, documents and forms from this page as well.
The email templates page has 50+ default templates to choose from. You can edit and save these templates to send out to customers and have the content that best expresses your business when communicating with customers.
The Sent / history page shows you in a list form the history of your sent emails to all of your customers. This page gives you status on the email whether it's been opened or sent.
Before sending out your email, you can use the many features to customize your template.
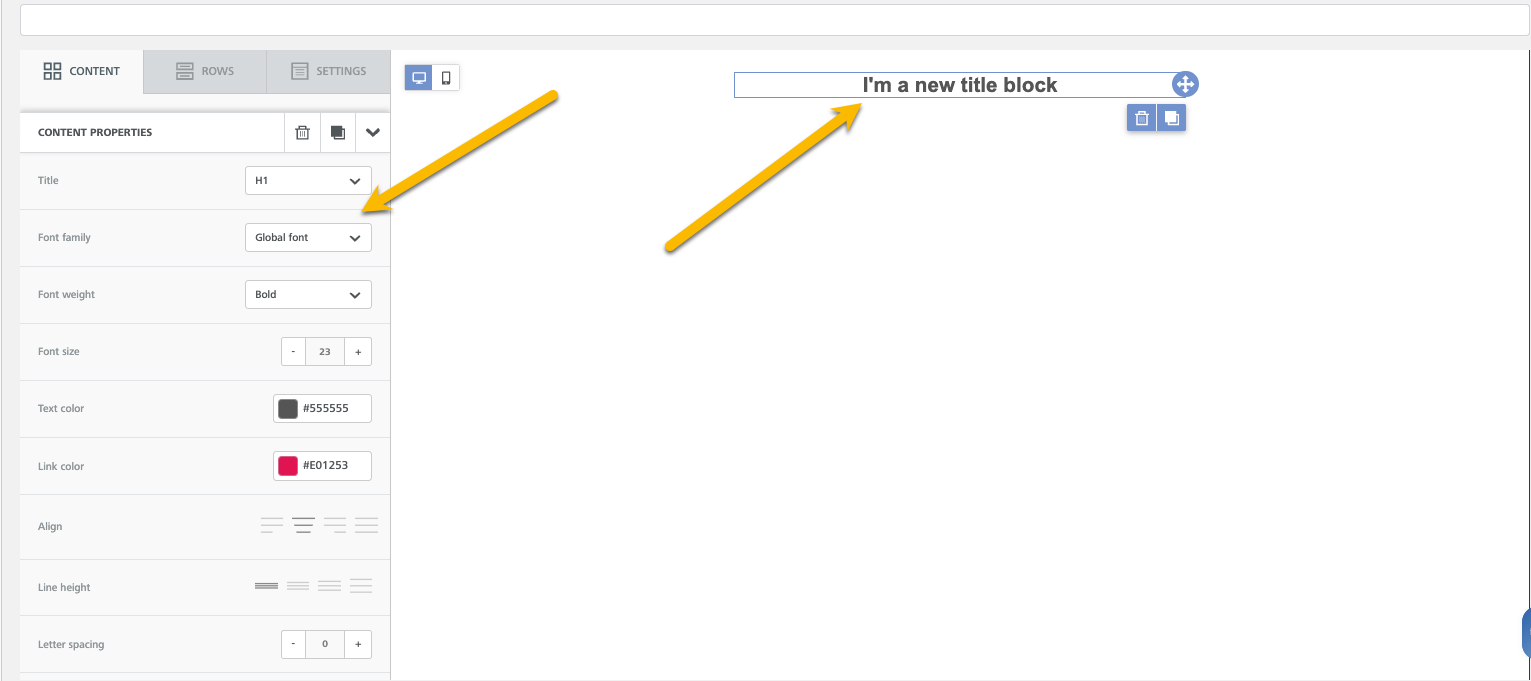
Title: The title feature allows you to edit the header of the email! This includes font size, text color, text style, line spacing and more.
Paragraph: This feature will allow you to design your text and it's format. Copilot has also added the ability to write with AI assistance when putting together the content in your paragraph.

List: The list feature is as it sounds! you'll have the ability create lists in your emails and edit the font/formatting for the list.
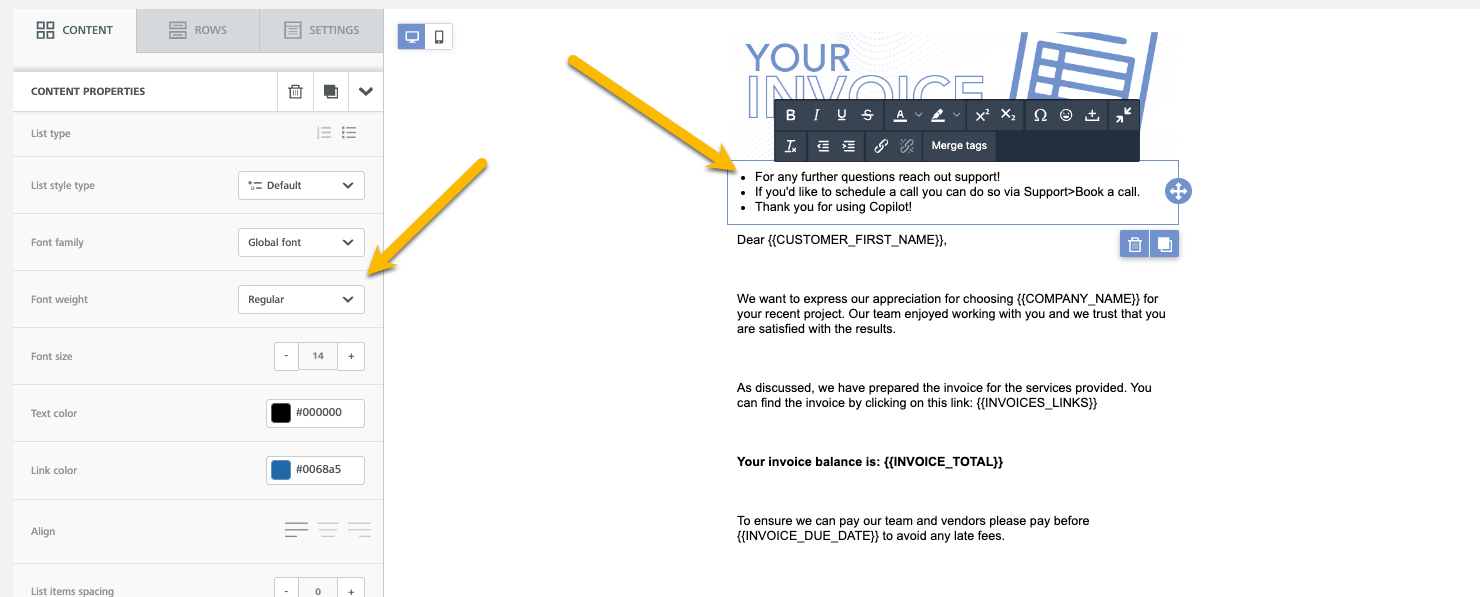
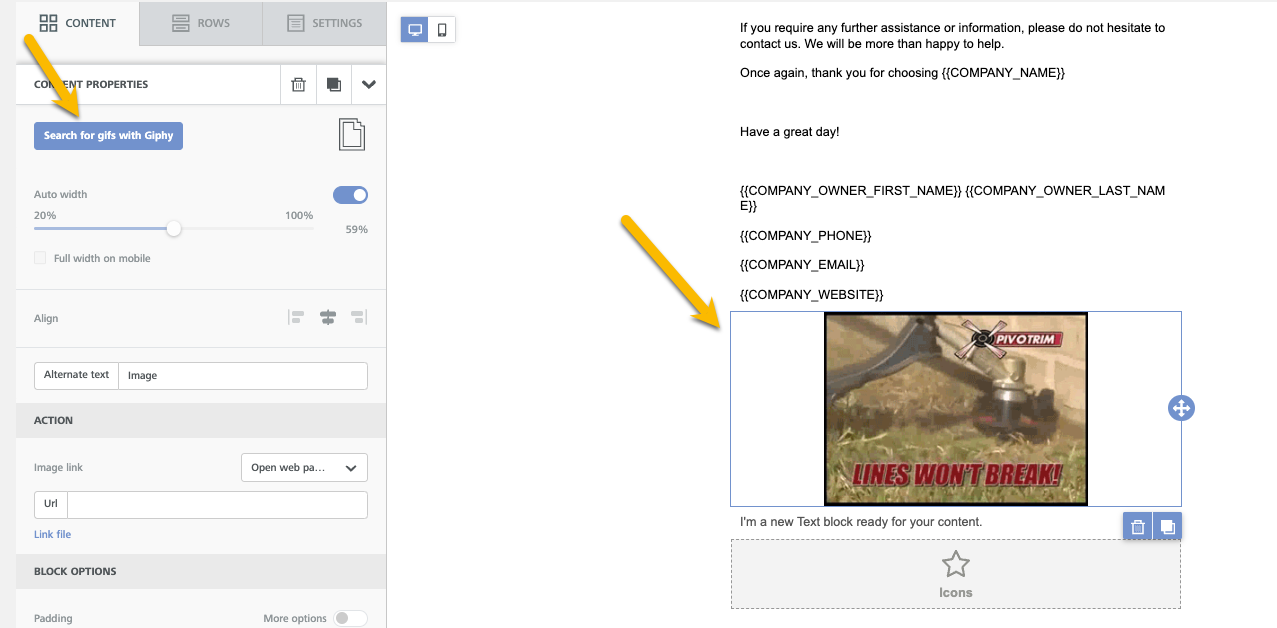
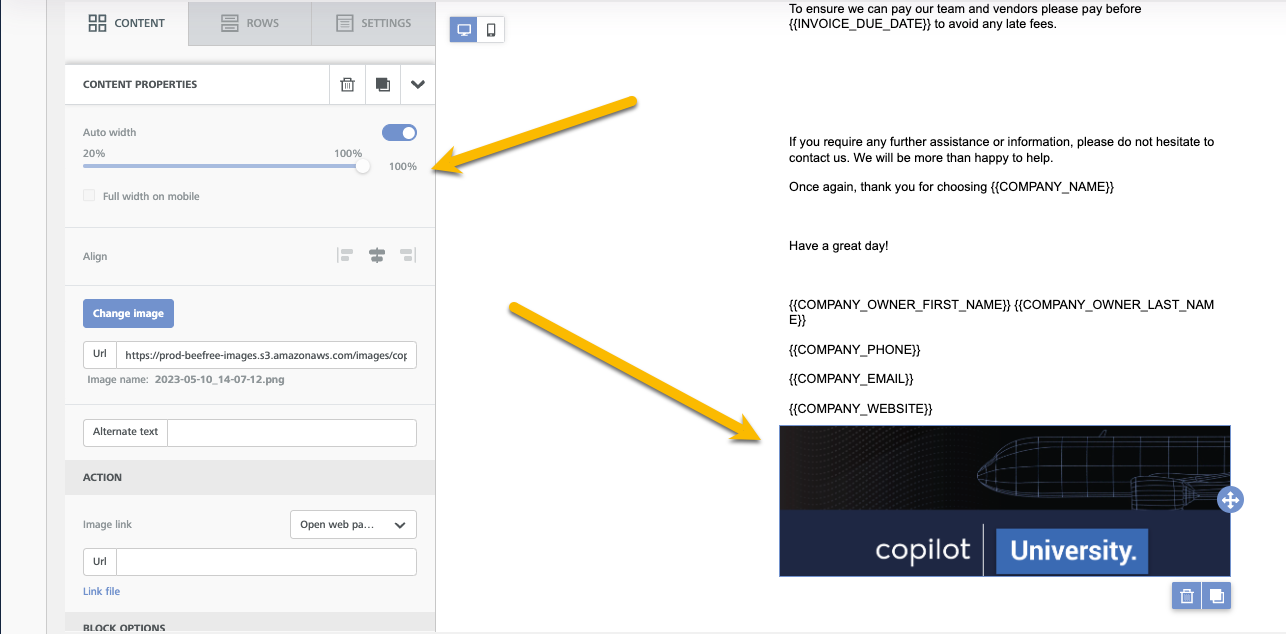
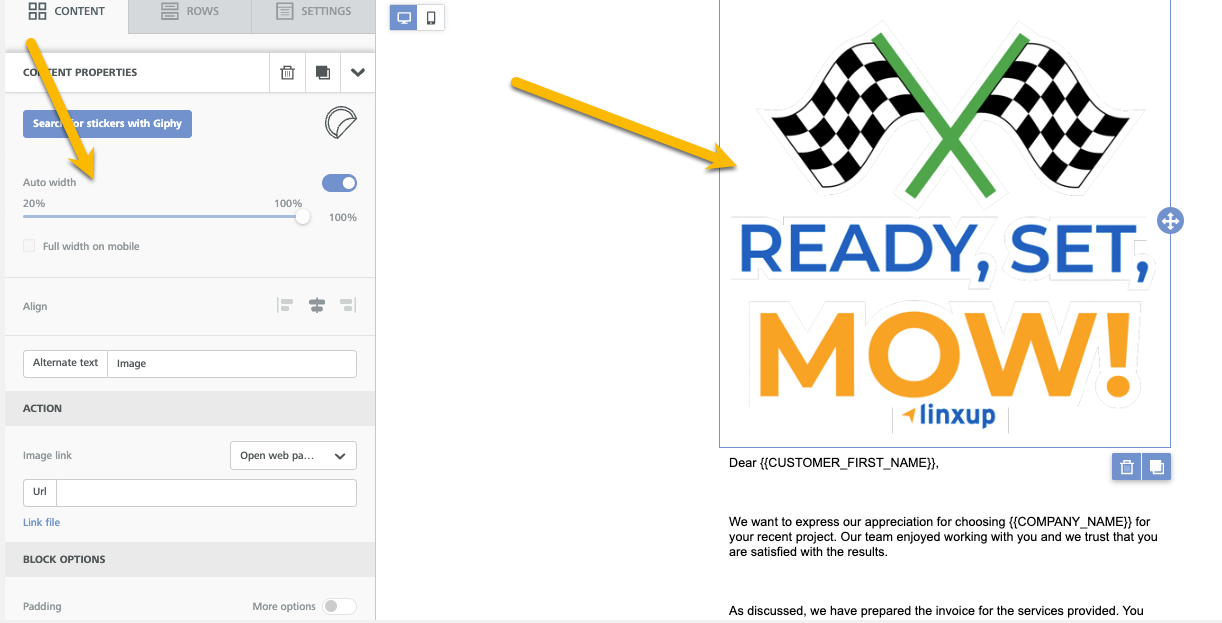
Image: You can attach images to your emails and edit it's dimensions.
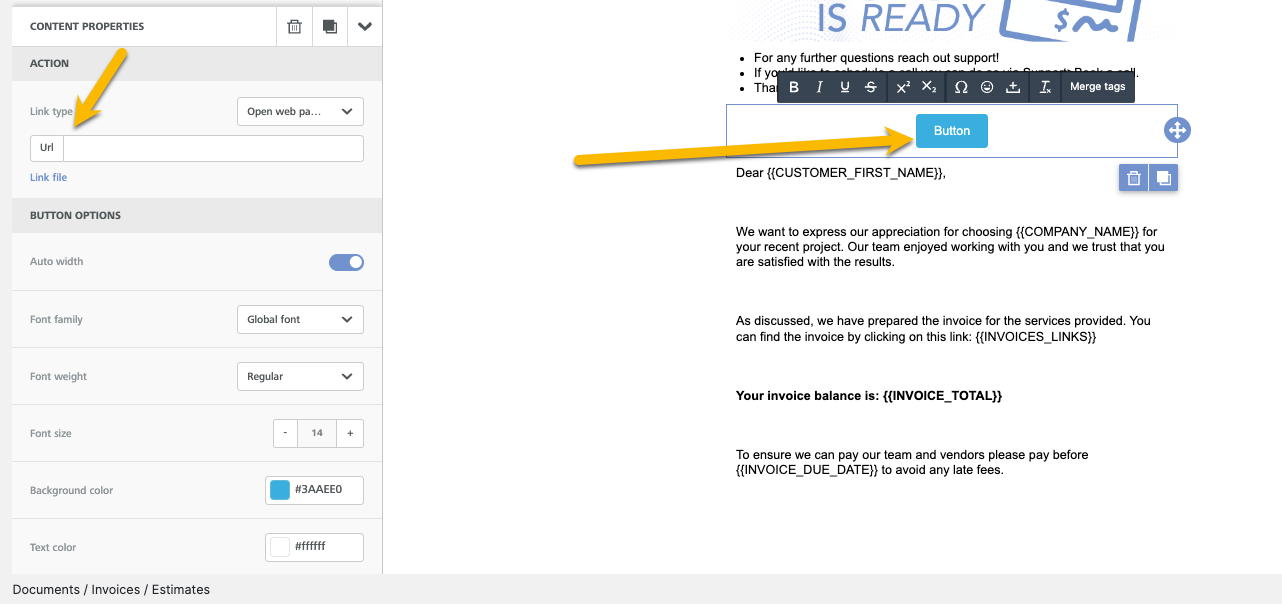
Button: This feature allows you to add a functional button that you can put a link behind to stylize the URL you may want a customer to click on for further action.
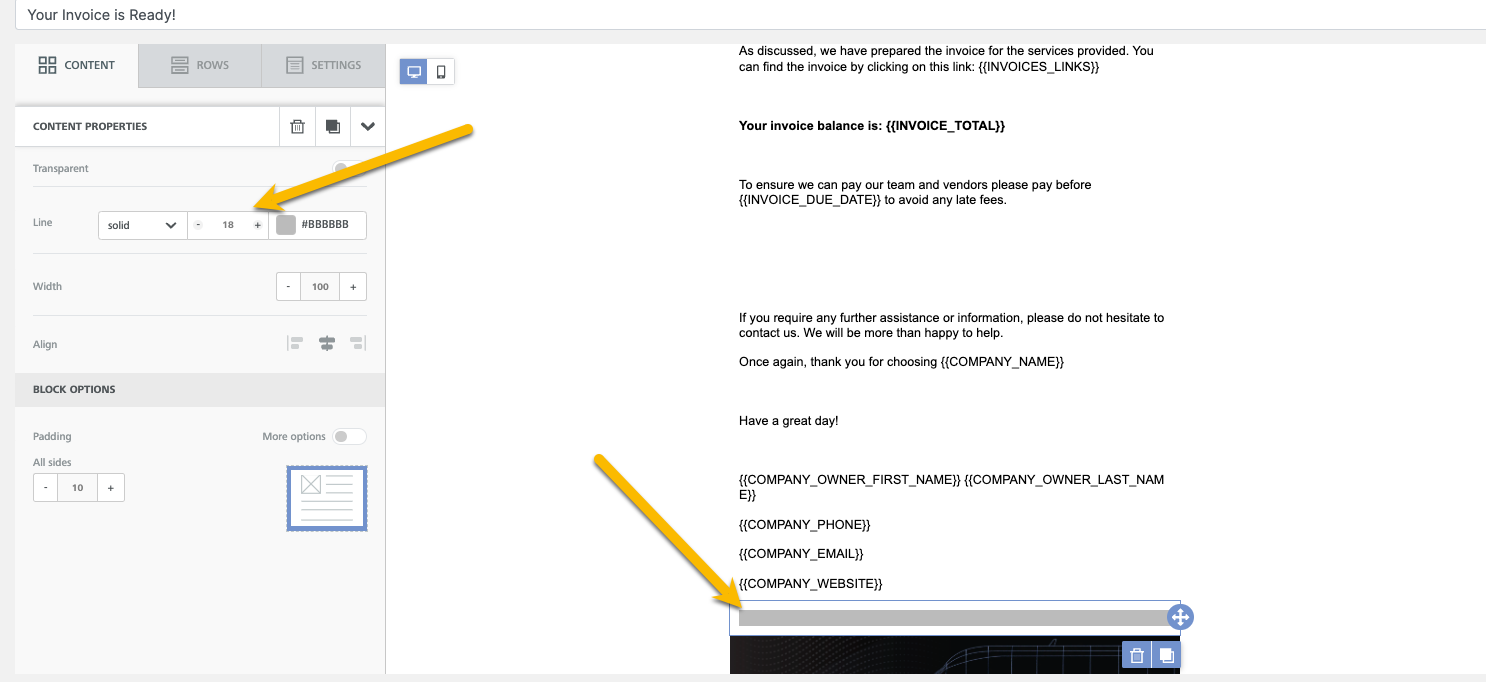
Divider: The divider allows you to create space between different rows of content you've created within your email.
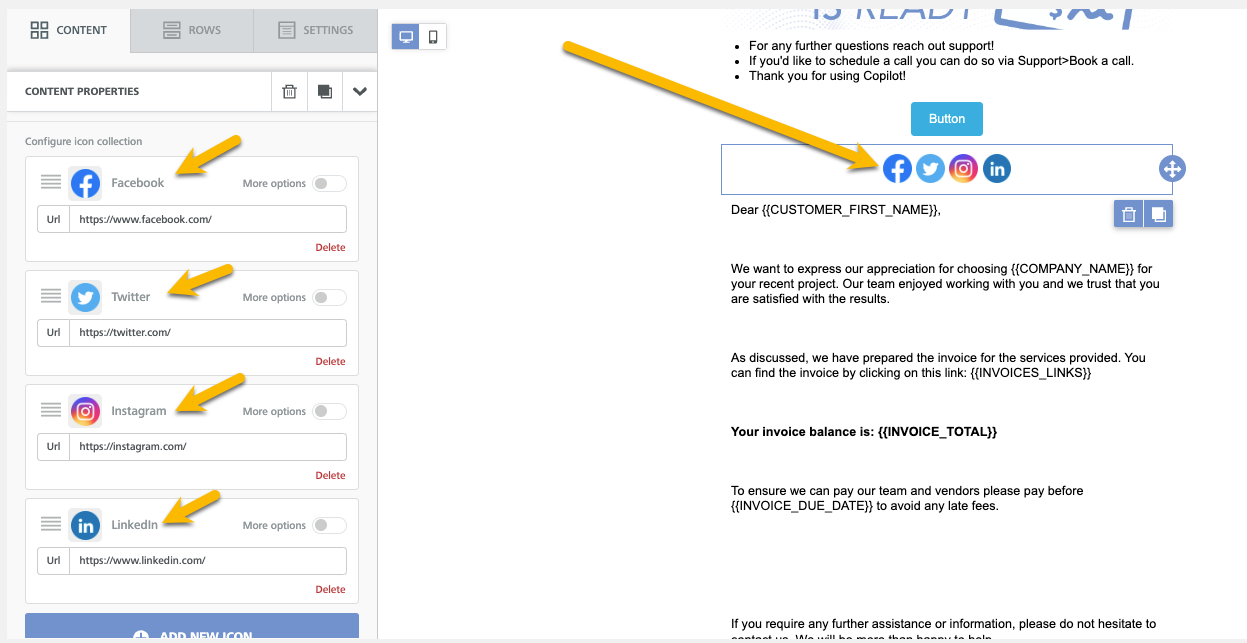
Social: This will place social media links with buttons over them that are clickable to customers to visit.
HTML: This feature allows HTML experts to place code or videos into the email. 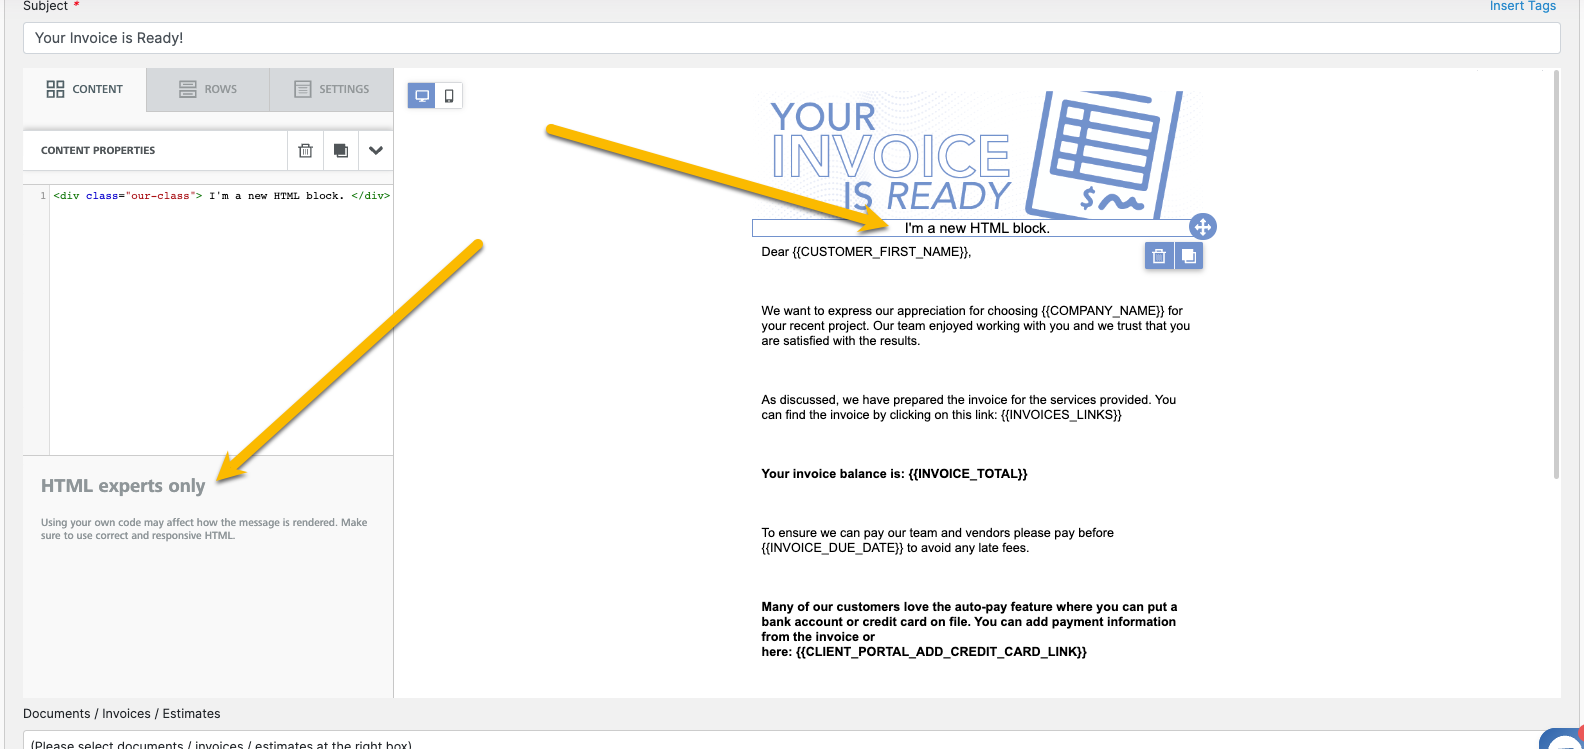
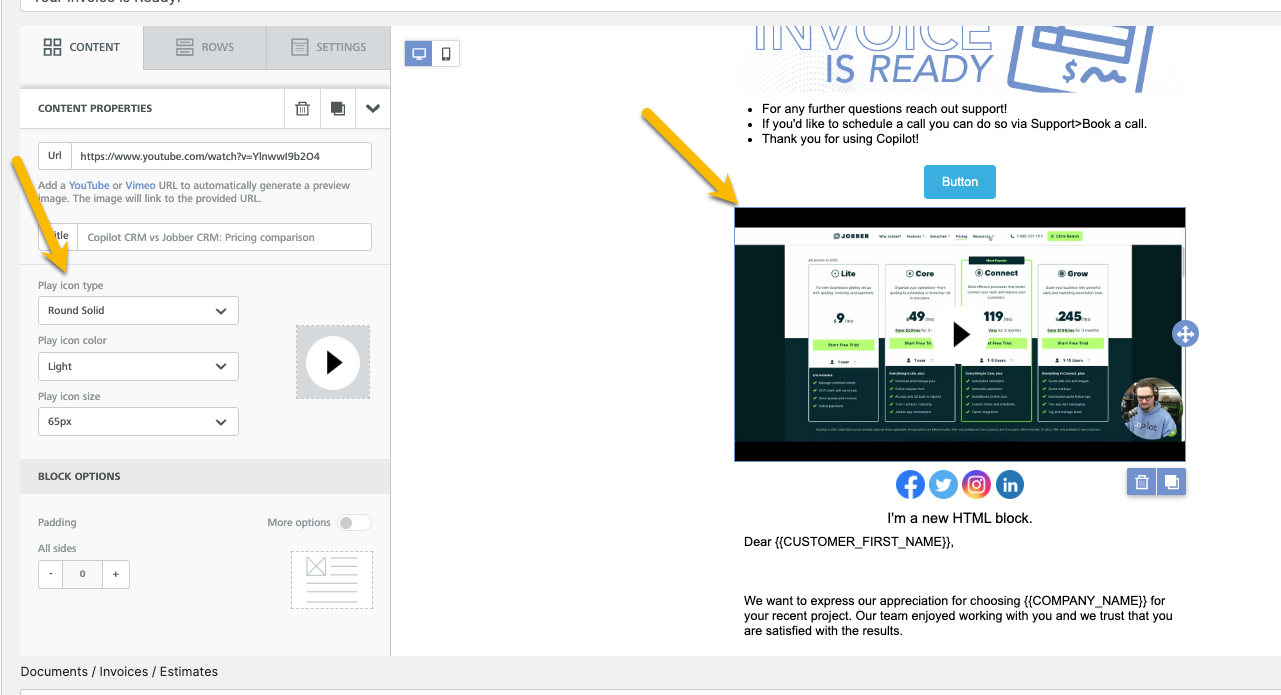
Video: You can attach a URL link to have videos in the email and edit the color of the play button.
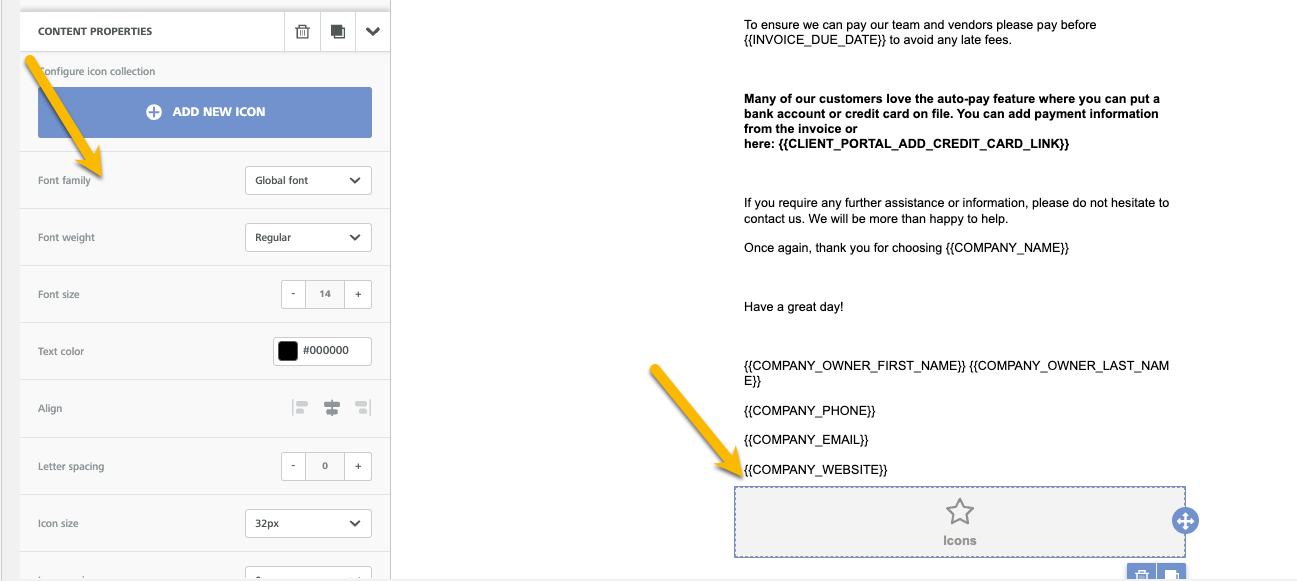
Icon: The icon feature allows you to add small icons or images in any location of the email as well.
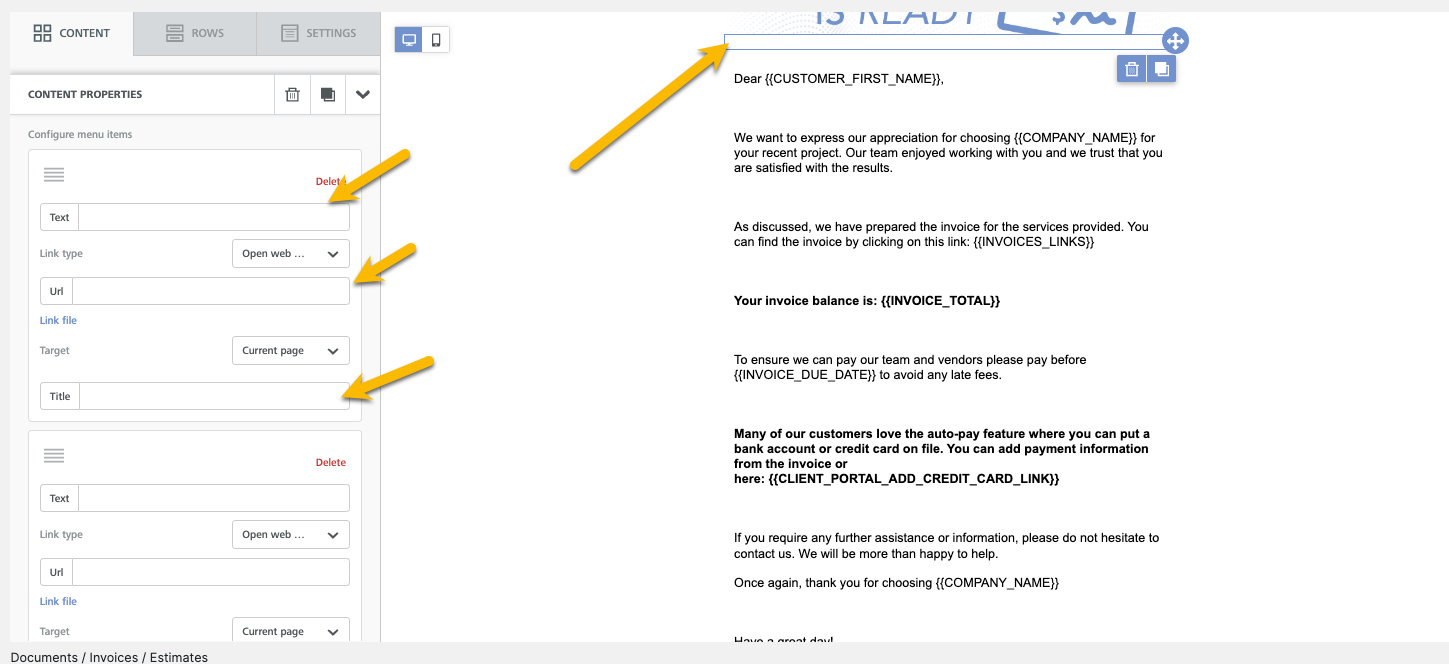
Menu: The menu feature will allow you to choose what content you'd like to have in your menu of the email. When adding items you can choose to add titles, URLs, or any txt within the menu.
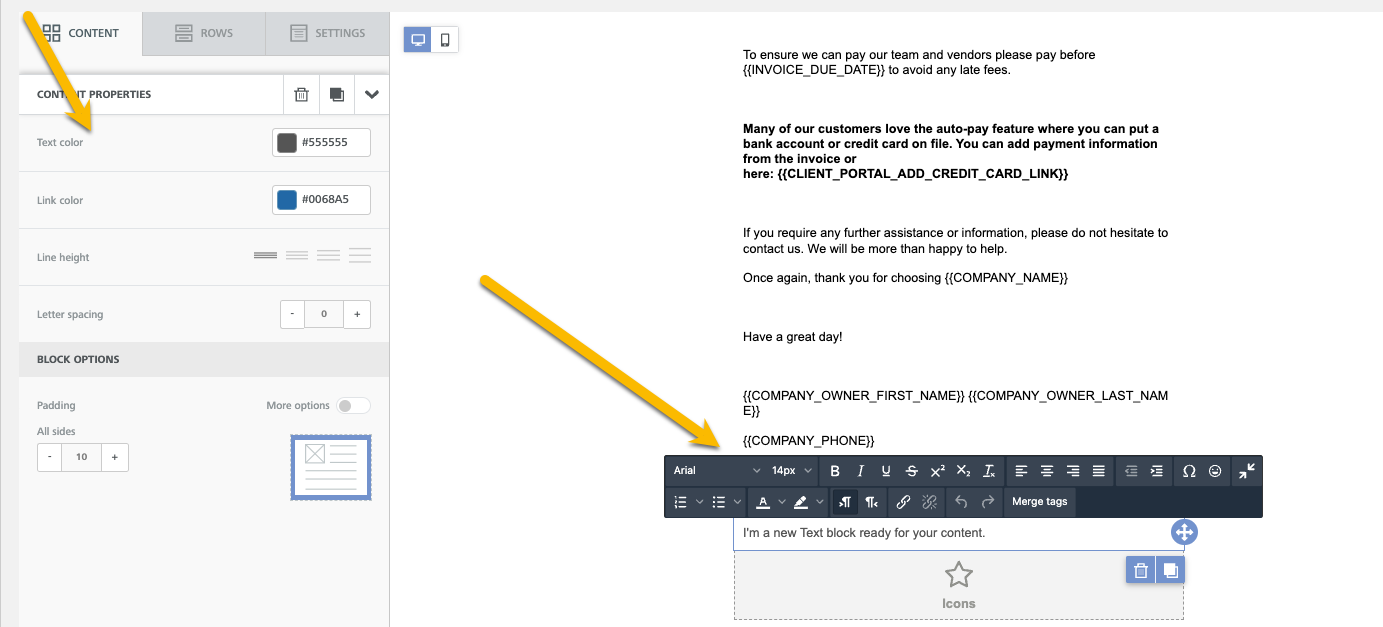
Text: This is a txt box you can place anywhere on the email to add verbiage. You can customize text color, link color, line spacing and more.
Stickers: This feature allows you to add stickers and gif videos to add fun visuals to your professional emails.
Gifs: This feature allows you to add short gif videos to add fun visual content to your professional emails.